Extra information
System documentation:Connector package documentation
Table of Contents
1. Setting up HTTP Client Wordpress 1.1 Steps 2. Subscribing to entities from Wordpress 2.1 Steps 2.2 General concept 3. Publishing entity to Wordpress 3.1 Steps 3.2 General concept1. Setting up HTTP Client Wordpress
1.1 Steps- In the Alumio Dashboard, go to Clients → HTTP Clients. Create a new HTTP Client.
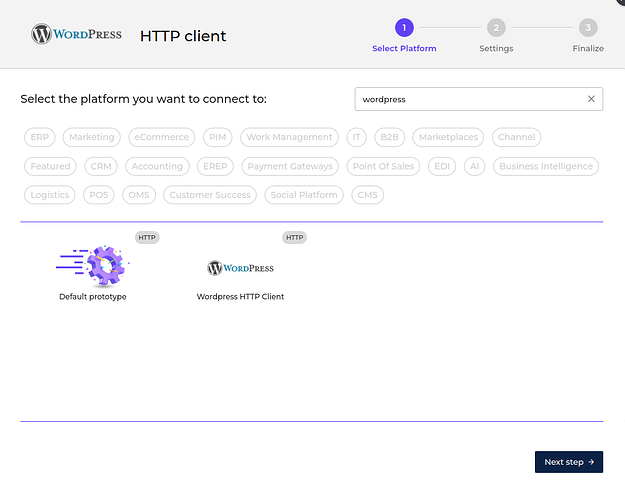
- Select Wordpress HTTP Client as PlatForm and click the next step.
- Fill in the Base URI with
https://{{your_wordpress_domain}}/wp-json/wp/v2 - Fill in the Username with your Wordpress username.
- Fill in the Password with your Wordpress password.
- You can optionally enable the logging of requests to get the authentication log.
- Click the next step, fill in the name of the HTTP Client and finally you can save the HTTP Client to use
2. Subscribing to Entities from Wordpress
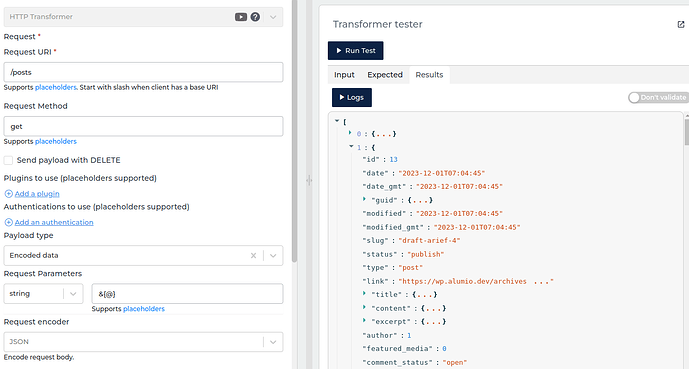
2.1 Steps- Go to Connections → Incoming → create a new incoming configuration and select “Wordpress Subscriber” as the subscriber.
- Select the entity you want to subscribe to from Wordpress.
- Add any request parameters needed to subscribe to the entity.
- Select the Wordpress HTTP Client to use.
- You can optionally add a transformer to transform the request parameters into something you will request from Wordpress.
- You can also optionally enable pagination to allow Alumio to fetch paginated entities.
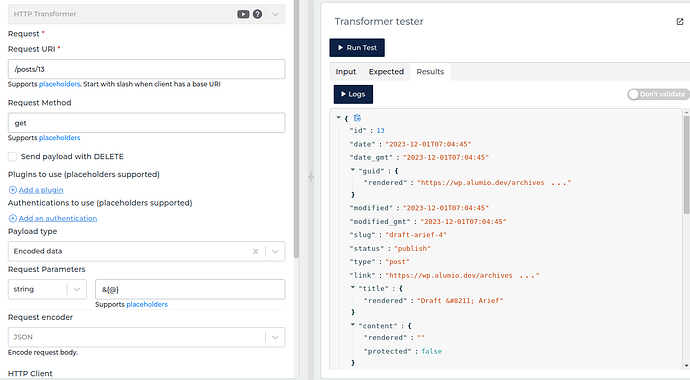
/posts/{id}
3. Publishing Entity to Wordpress
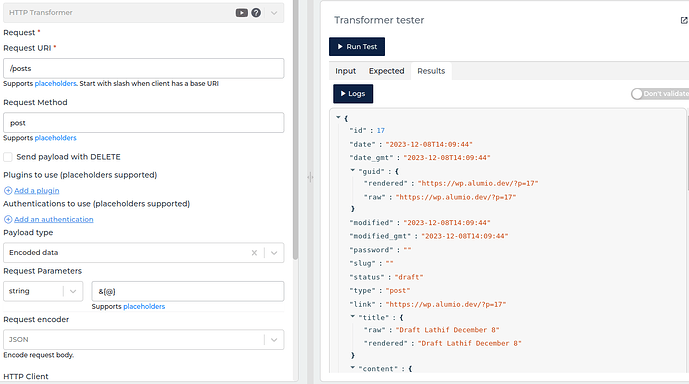
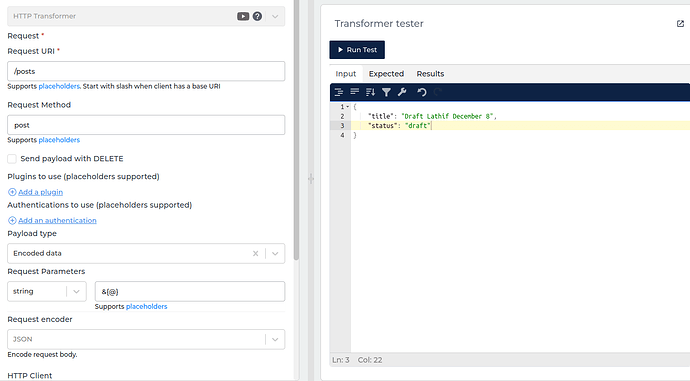
3.1 Steps- Go to Connections → Outgoing, create a new outgoing configuration and select “Wordpress Publisher” as the publisher.
- Select the Method that you want the publisher to perform with the data.
- Select the Wordpress entity you want the data to be published.
- You can optionally add any query data to the request on the key query.
- You can optionally add any payload data to the request on the key payload.
- Select the HTTP Client to use.
/posts, and here is the response example: