Extra information
System documentation: https://developers.hubspot.com/docs/api/overviewConnector package documentation
Table of Contents
- 1. Setting up HTTP Client HubSpot
- 1.1 Steps
- 2. Subscribing to entities from HubSpot
- 2.1 Steps
- 2.2 General concept
- 3. Publishing entity to HubSpot
- 3.1 Steps
- 3.2 General concept
1. Setting up HTTP Client HubSpot
1.1 Steps- In Alumio Dashboard, go to Clients -> HTTP Clients.
- Create a new HTTP Client and select HubSpot Client as the prototype of the HTTP Client.
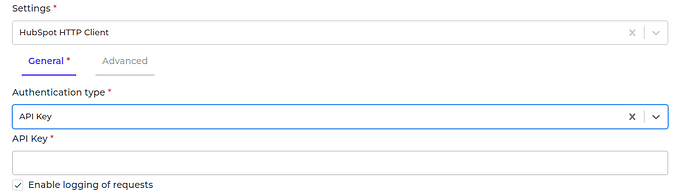
- Select the preferred authentication type.
-
We provide three authentication types you can use to connect to HubSpot.
-
To use API Key, please refer to https://developers.hubspot.com/docs/api/working-with-oauth to get the API key.
Fill in the API Key accordingly
-
To use OAuth 2.0, please refer to this https://knowledge.hubspot.com/integrations/how-do-i-get-my-hubspot-api-key?_ga=2.60143279.341006870.1586180142-500942594.1573763828&_gac=1.159575759.1585929963.CjwKCAjwsMzzBRACEiwAx4lLGyhm1kRPOqA4ECRGjXC9E1lqLmkjAkm_n327nPunuhr5z2D0LTrIyhoCCX0QAvD_BwE to get the OAuth 2.0 credentials.
Fill in the Client id, Client Secret and Scopes.
Click the Grant access to HubSpot button and follow the instructions to let Alumio start the authentication and get the access token.

-
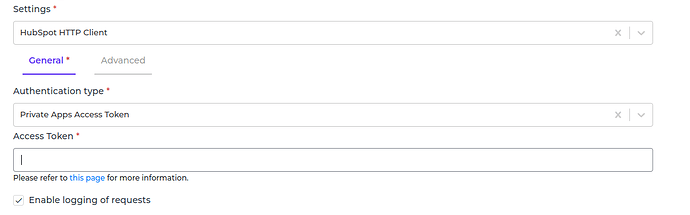
To use Private Apps Access Token, please refer to this https://developers.hubspot.com/docs/api/private-apps to get the Access Token.
Fill in the Access Token accordingly
-
To use API Key, please refer to https://developers.hubspot.com/docs/api/working-with-oauth to get the API key.
Fill in the API Key accordingly
- Please ignore the Grant access to HubSpot button when you select other than Oauth 2.0.
- You can optionally enable logging of request to get the log of the authentication.
- You can optionally set a base HTTP client to use for the connection by selecting a HTTP client configuration or setting your own HTTP client in the Advanced HTTP client field.
- Save the HTTP Client.
2. Subscribing to Entities from HubSpot
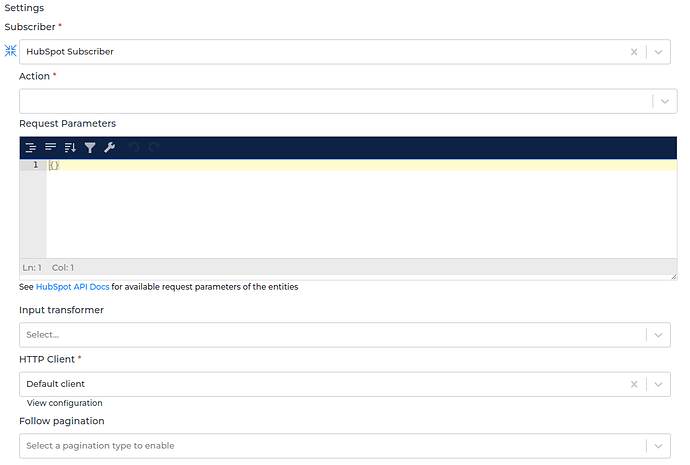
2.1 Steps- Go to Connections -> Incoming and create a new incoming configuration and select HubSpot Subscriber as the subscriber.
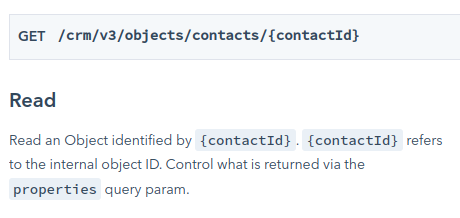
- Select the action you want to do.
- Add any request parameters needed to subscribe to the entity (optional).
- You can optionally add a transformer to transform the request parameters into something you need.
- Select the HubSpot HTTP Client to use.
- You can also optionally enable pagination to allow Alumio fetches paginated entities. For HubSpot case, you should use Follow next links as pagination type.
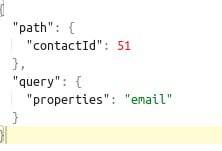
- Path is the path parameter of the url. For example the {id}.
- Query is defined set of parameters attached to the end of a url.
Example: www.url.com?type=true&start=0
3. Publishing Entity to HubSpot
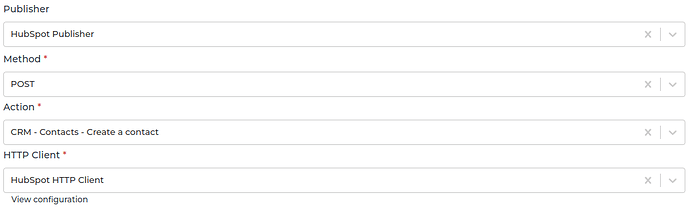
3.1 Steps- Go to Connections -> Outgoing, create a new outgoing configuration and select HubSpot – Entity Publisher as the publisher.
- Select the action that you want the publisher to do with the data.
- Select the HubSpot entity you want the data to be published to.
- You can optionally add any query parameters to the request.
- You can also optionally add any transformers to transform the data into anything you need before submitting it to HubSpot.
- Select the HTTP Client to use.
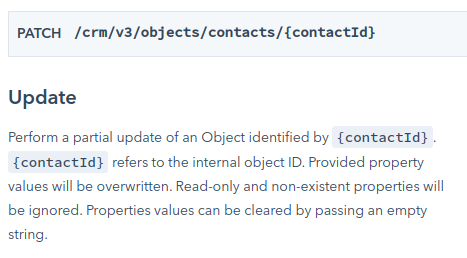
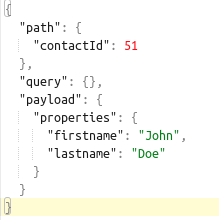
- Path is the path parameter of the url. For example the {id}.
- Query is defined set of parameters attached to the end of a url.
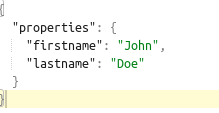
Example: www.url.com?type=true&start=0 - Payload is the data contained within a request.