Extra information
System documentation: REST API DocumentationConnector package documentation
Table of Contents
- 1. Setting up HTTP Client Lightspeed E-Commerce
- 1.1 Steps
- 2. Subscribing to Entities from Lightspeed E-Commerce
- 2.1 Steps
- 2.2 General Concept
- 3. Publishing Entity to Lightspeed E-Commerce
- 3.1 Steps
- 3.2 General Concept
1. Setting up HTTP Client Lightspeed Ecommerce
1.1 Steps- In the Alumio Dashboard, go to Clients → HTTP Clients.
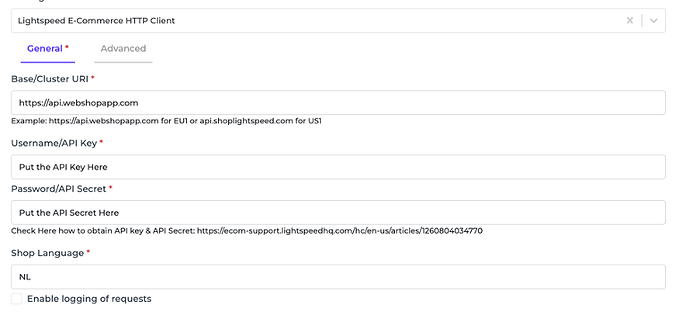
- Create a new HTTP Client and select Lightspeed E-Commerce HTTP Client as the prototype.
- Fill in the Base or Cluster URL, API Key, API Secret, and Shop language.
- Refer to this article to get the API key and API secret.
2. Subscribing to Entities from Lightspeed Ecommerce
2.1 Steps- Go to Connections -> Incoming and create a new incoming configuration and select Lightspeed E-Commerce Subscriber as the subscriber.
- Select the entity you want to subscribe.
- Select the Lightspeed E-Commerce HTTP Client to use.
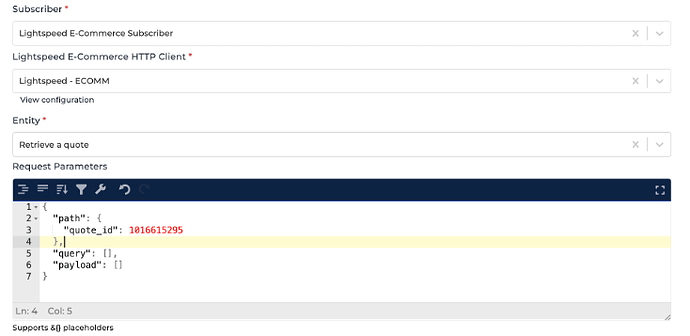
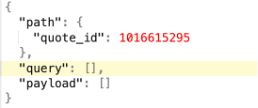
- “Path” is the path parameter of the url. For example the {id}.
- “Query” is defined as a set of parameters attached to the end of a url.
Example: www.url.com?type=true&start=0
3. Publishing Entity to Lightspeed Ecommerce
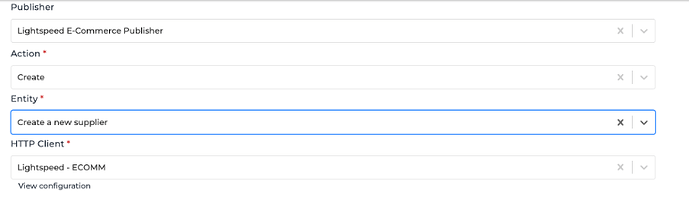
3.1 Steps- Go to Connections -> Outgoing, create a new outgoing configuration and select Lightspeed E-Commerce Publisher as the publisher. 2.Select the action that you want the publisher to do with the data.
- Select the Lightspeed E-Commerce entity you want the data to be published towards.
- Select the HTTP Client to use.
- “Path” is the path parameter of the url. For example the {id}.
- “Query” is a defined set of parameters attached to the end of a url.
Example: www.url.com?type=true&start=0 - “Payload” is the data contained within a request.