Extra information
System documentation: https://api.bol.com/retailer/public/Retailer-API/index.htmlConnector package documentation
Table of Contents
- 1. Setting up HTTP Client Bol.com
- 1.1 Steps
- 2. Subscribing to entities from Bol.com
- 2.1 Steps
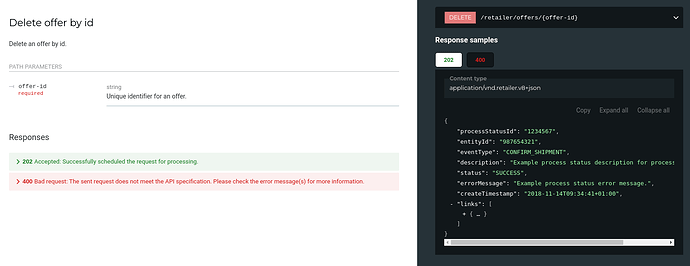
- 2.2 General concept
- 3. Publishing entity to Bol.com
- 3.1 Steps
- 3.2 General concept
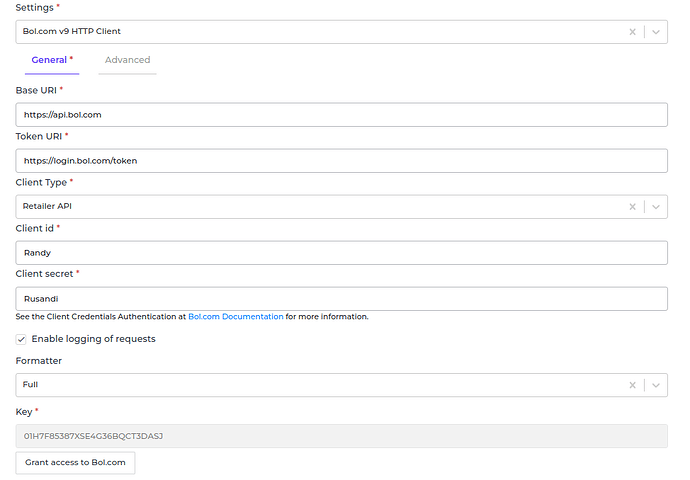
1. Setting up HTTP Client Bol.com
1.1 Steps- In Alumio Dashboard, go to Clients > HTTPS Client. Create a new HTTP Client and select Bol.com v9 HTTP Client as the prototype of the HTTP Client.
- Fill in the Base URI, Token URI, Client Type, Client id, and Client Secret.
- You can optionally enable logging of requests to get the log of the authentication.
- Click on Grant access to Bol.com to get the Key.
- Save the HTTP Client after the key has been provided.
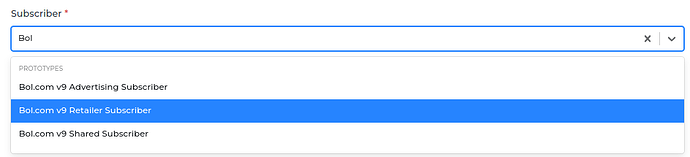
2. Subscribing to Entities from Bol.com
2.1 Steps- Go to Connections -> Incoming and create a new incoming configuration and select Bol.com v9 Advertiser Subscriber, Bol.com Retailer v9 Subscriber, or Bol.com v9 Shared Subscriber as the subscriber.
- Select the entity you want to subscribe to from Bol.com.
- Add any request parameters needed to subscribe to the entity (optional).
- You can optionally add a transformer to transform the request parameters into something you need.
- Select the Bol.com HTTP Client to use. (Please set the Client Type according to what you need for the Subscriber)
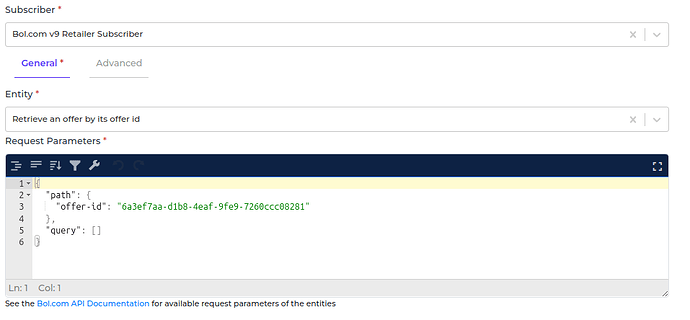
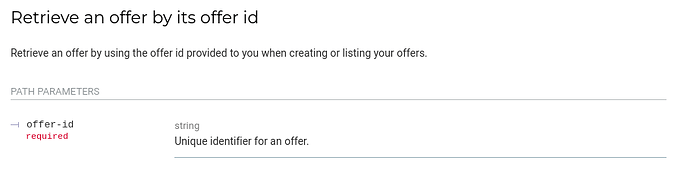
- Path is the path parameter of the url. For example, the {id}.
- Query is a defined set of parameters attached to the end of a url.
Example: www.url.com?type=true&start=0
3. Publishing Entity to Bol.com
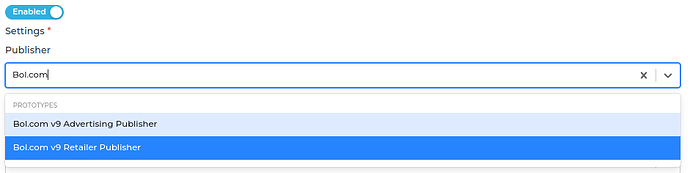
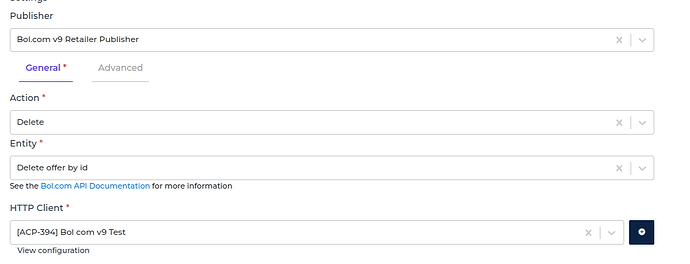
3.1 Steps- Go to Connections -> Outgoing, create a new outgoing configuration, and select Bol.com v9 Advertiser Publisher or Bol.com v9 Retailer Publisher as the publisher.
- Select the action that you want the publisher to do with the data currently Bol.com support Create, Update, and Delete.
- Select the Bol.com entity you want the data to be published.
- Select the HTTP Client to use. (Please set the Client Type according to what you need for the Publisher)


- Path is the path parameter of the url. For example, the {id}.
- Query is a defined set of parameters attached to the end of a url.
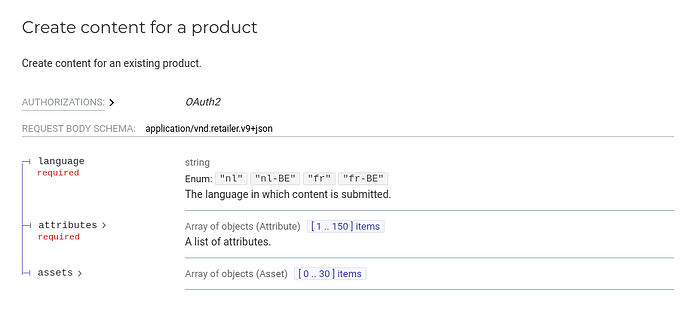
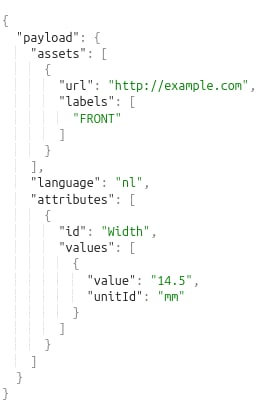
Example: www.url.com?type=true&start=0 - Payload is the data contained within a request.