Extra information
Connector package documentation: System documentation:Setting up HTTP Client Act-On
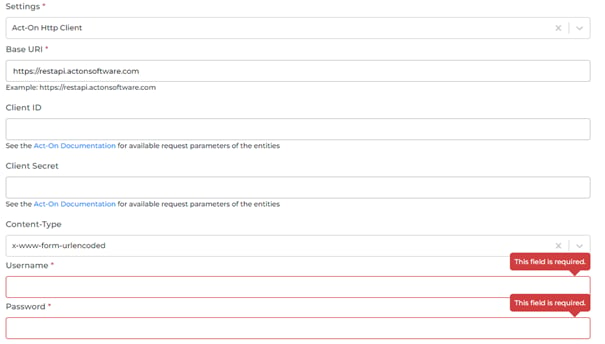
Steps- In Alumio Dashboard, go to Clients > HTTPS Client. Create a new HTTP Client and select Act-On HTTP Client as the prototype of the HTTP Client.
- Fill in the Base URI, Client ID, Client Secret, Username, and Password.
- Scopes is optional.
- Choose Content-Type (Explained at Important Notes Below)
Subscribing to Entities from Act-On
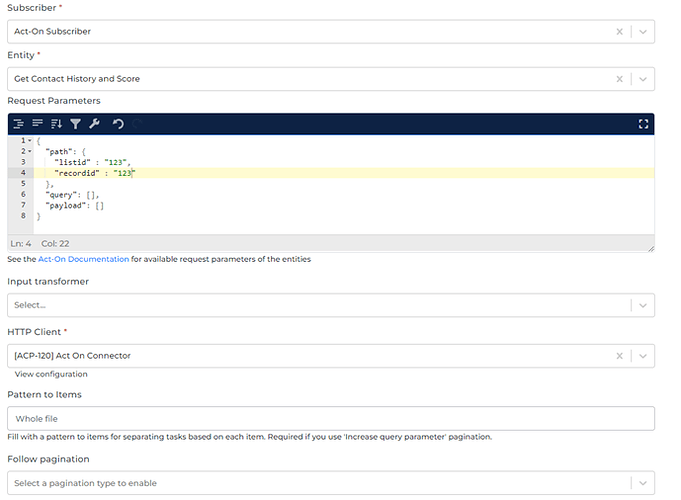
Steps- Go to Connections -> Incoming and create a new incoming configuration and select Act-On Subscriber as the subscriber.
- Select the entity you want to subscribe from Act-On.
- Add any request parameters needed to subscribe to the entity (optional).
- You can optionally add a transformer to transform the request parameters into something you need.
- Select the Act-On HTTP Client to use

Publishing Entity to Act-On
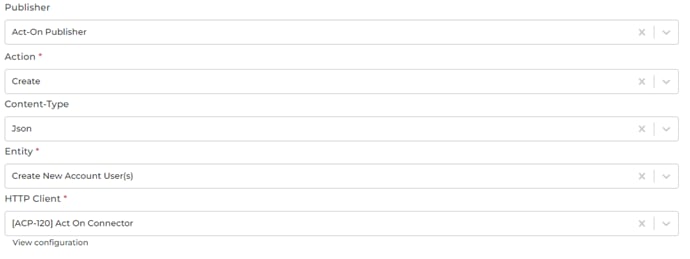
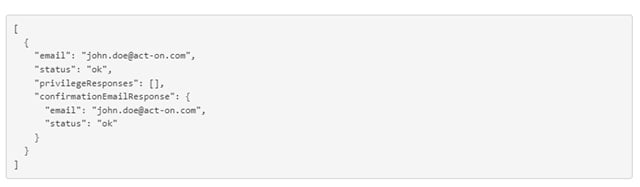
Steps- Go to Connections -> Outgoing, create a new outgoing configuration, and select Act-On Publisher as the publisher.
- Select the action that you want the publisher to do with the data.
- Select the Act-On entity you want the data to be published.
- You can optionally add any query parameters to the request.
- You can also optionally add any transformers to transform the data into anything you need before submitting it to Act-On.
- Select the HTTP Client to use.

Important Notes
On the endpoints, we do not support query on Input see that the Endpoint is /api/1/list/{listid}/record?email={emailaddress}. In Alumio we make it like this. /api/1/list/{listid}/record we didn’t insert any query on this one, in this case, you have to insert manually on the parameter like this.