Base Information Setup
- Navigate to Transformer → Akeneo to Magento - Set - Base Information.
- Go to the “Overview” tab to see what kind of information you can set.
Go to each data transformer and make necessary adjustments. Currently, only stock_item properties can be set in this transformer.
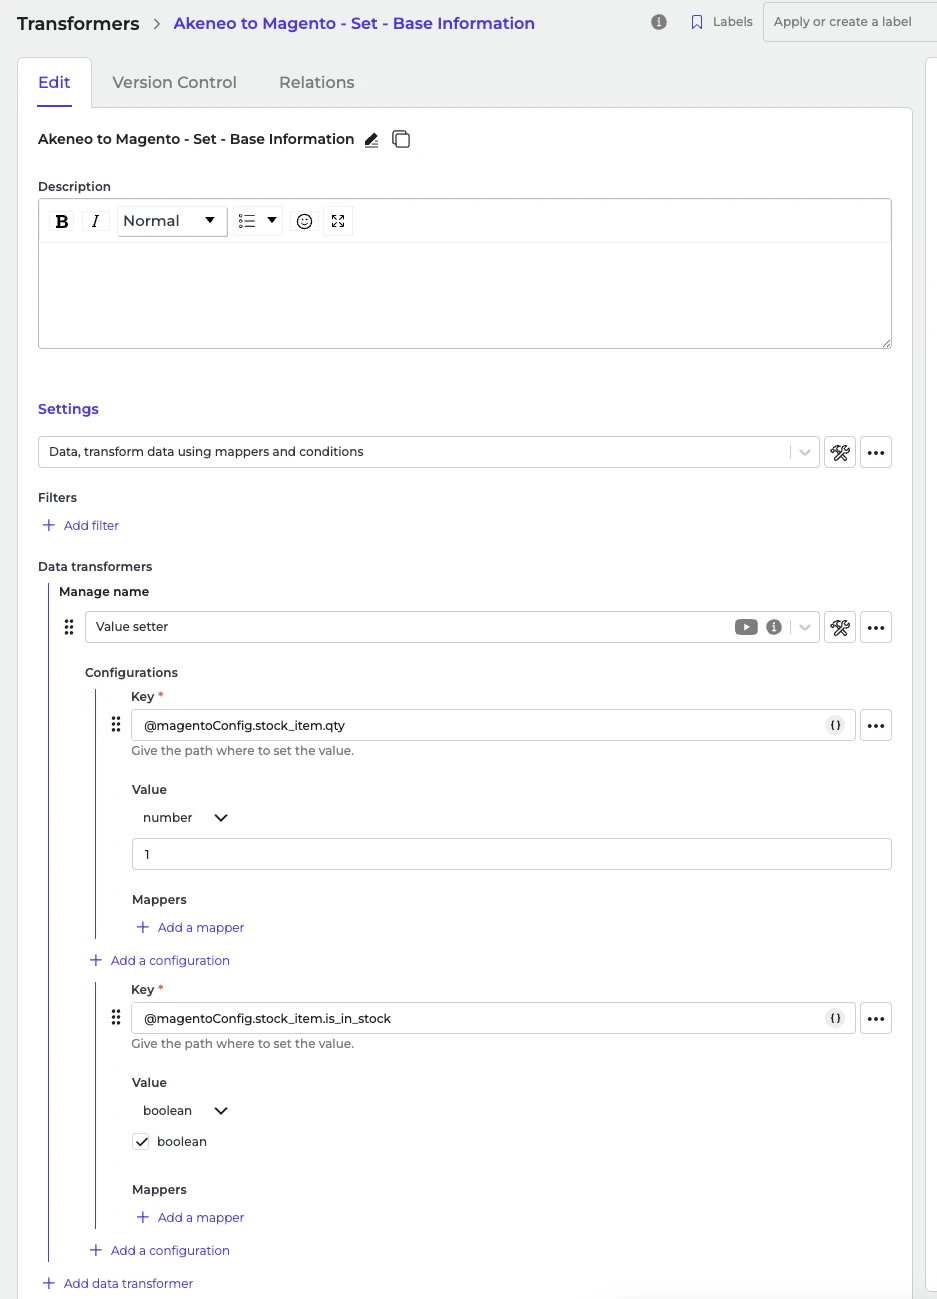
- Save the transformer.
Configuring the Incoming: Synchronize Products ‐ Fetch Storage Product Model Alumio Base
In the Incoming section of data synchronization from the Alumio schema to the Magento 2 system, for the first run, minimal setup is required. The key configuration to adjust is ensuring that the delta storage is empty within the “Akeneo to Magento 2 - Products - Filter By Previous storage entities” transformer.- Navigate to Incoming and locate the “Synchronize Products - Akeneo to Magento 2 - Fetch Storage Product Model Alumio Base” configuration.
- Open the transformer inside the incoming configurations “Akeneo to Magento 2 - Products - Filter By Previous storage entities”.
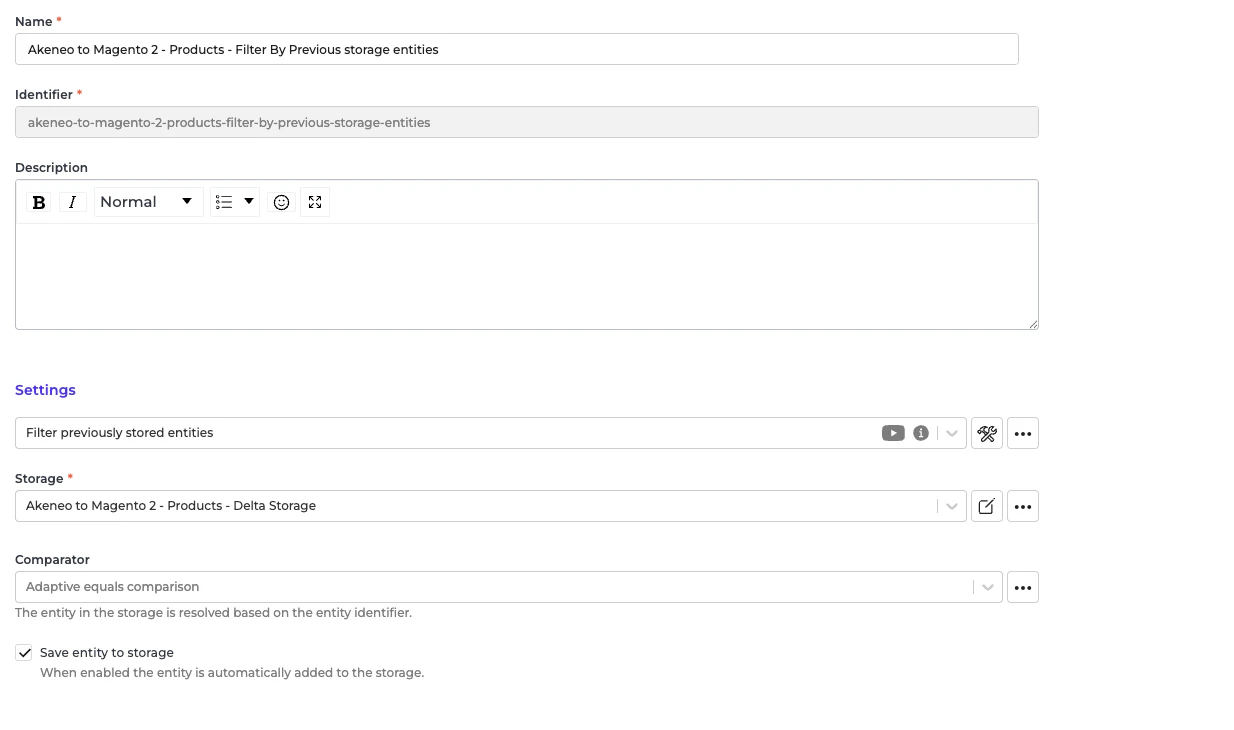
- Go to the storage “Akeneo to Magento 2 - Products - Delta Storage”.
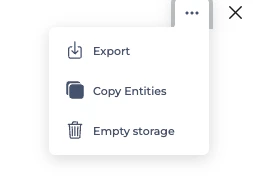
- At the top right ”…” button, select “Empty storage”.
Configuring the Incoming: Akeneo Fetch Simple Products or Product Without Parent
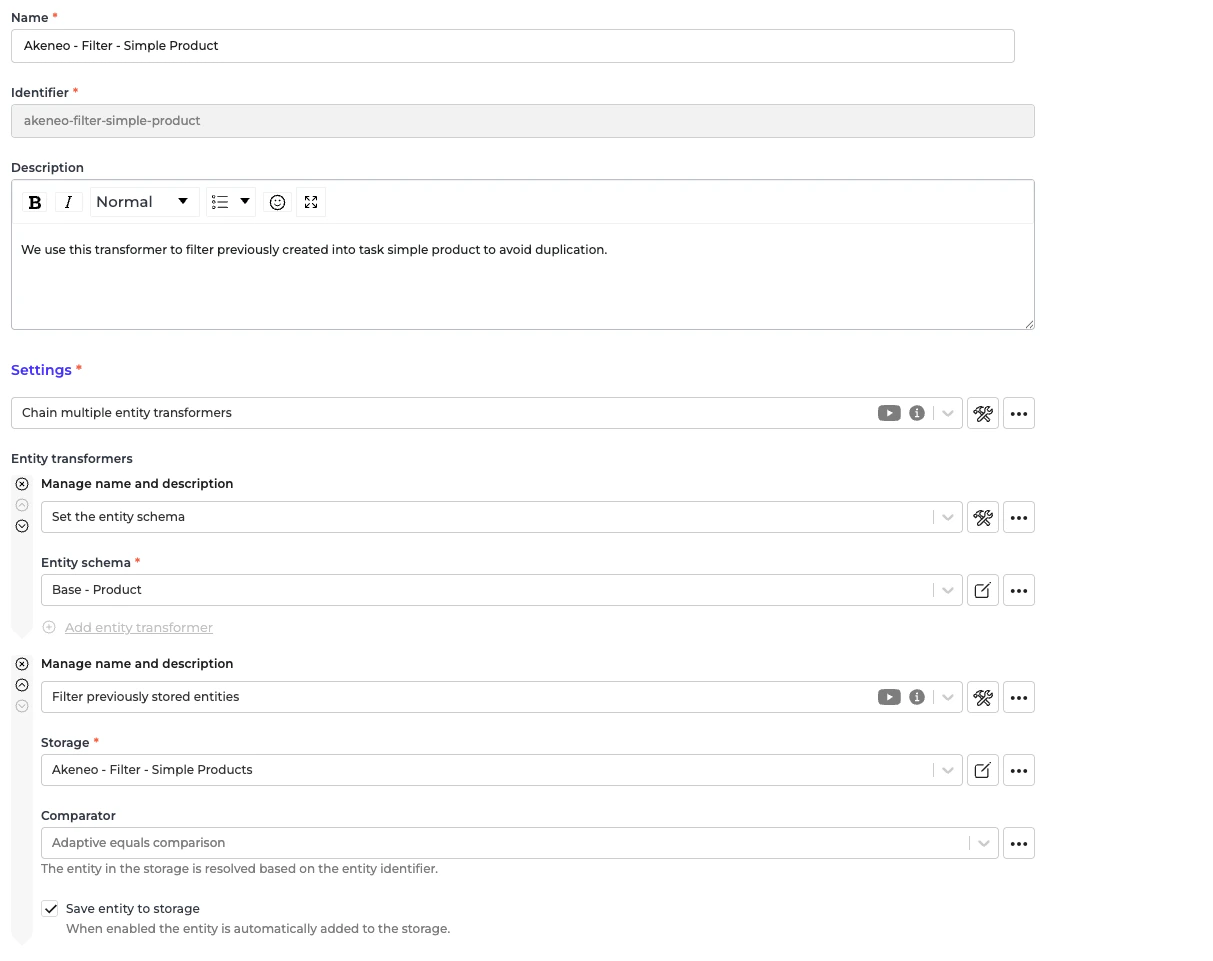
In the Incoming section of data synchronization from the Alumio schema to the Magento 2 system, for the first run, minimal setup is required. The key configuration to adjust is ensuring that the delta storage is empty within the “Akeneo to Magento 2 - Products - Filter By Previous storage entities” transformer.- Navigate to Incoming and locate the “Akeneo - Fetch - Simple products or products without parent” configuration.
- Open the transformer inside the incoming configurations “Akeneo - Filter - Simple Product”.
Go to the storage “Akeneo - Filter - Simple Products”.
- At the top right ”…” button, select “Empty storage”.
Configuring the Route: Synchronize Products ‐ Akeneo to Magento 2
In the Route “Synchronize Products - Akeneo to Magento 2”, there is nothing to set up for the Route. Everything will be automatically converted from the Alumio Base Product schema to the Magento 2 Product schema.- Navigate to Routes and locate the configuration “Synchronize Products - Akeneo to Magento 2” configuration.
- Open the configuration settings.
- Enable the “Enable parallel execution” checkbox.
- Locate the “Maximum parallel executions” field and set the value based on the number of parallel jobs you want to run.
Configuring the Route: Synchronize Products ‐ Akeneo to Magento 2 Simple Product
In the Route “Synchronize Products ‐ Akeneo to Magento 2 Simple Product”, there is nothing to set up for the Route. Everything will be automatically converted from the Alumio Base Product schema to the Magento 2 Product schema.- Navigate to Routes and locate the configuration “Synchronize Products - Akeneo to Magento 2 Simple Product” configuration.
- Open the configuration settings.
- Enable the “Enable parallel execution” checkbox.
- Locate the “Maximum parallel executions” field and set the value based on the number of parallel jobs you want to run.