- Log in to your Alumio Dashboard.
- Navigate to System → Import / Export.
- Upload the downloaded template. You’ll see a list of the configurations ready to import. Select All and click the “Import configuration” button. Verify that all Incoming, Routes, Outgoing, Transformers, and Schedulers are correctly imported.
Credentials Setup
Before running the integration, you must configure credentials for Akeneo and Shopify in Alumio. Step 1: Retrieve API Credentials from Akeneo.- Log in to Akeneo as an admin user.
- Navigate to Connect → Connection-settings.
- Create a new connection (if necessary) and retrieve the following:
- Client ID.
- Secret Key.
- Username.
- Password.
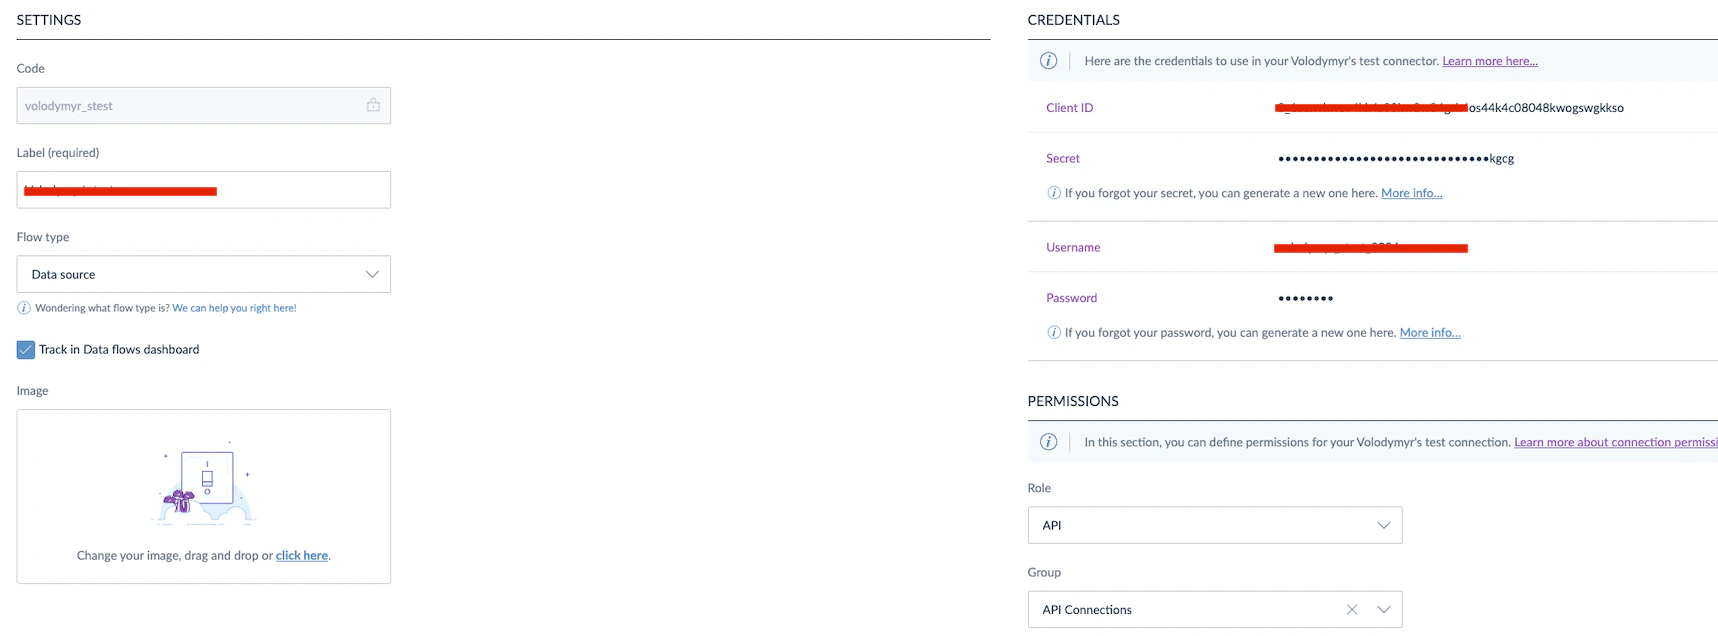
- Base URL.
- Personal access token.
- In Alumio, go to System → Environment variables.
- Fill in all credentials based on what you get from Akeneo and Shopify.
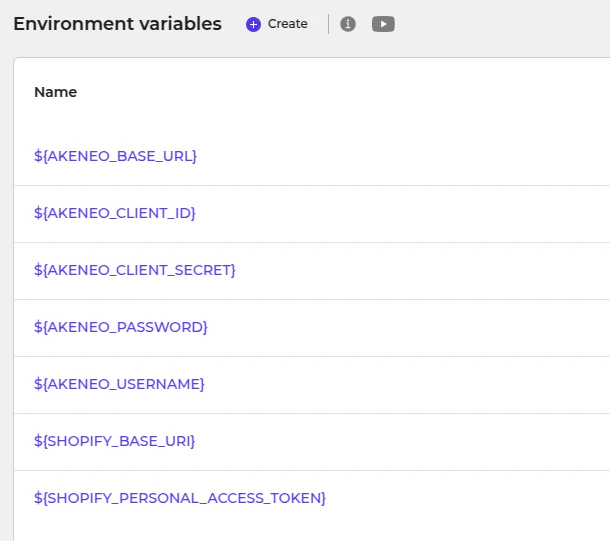
- Click Save & Apply.
Customization
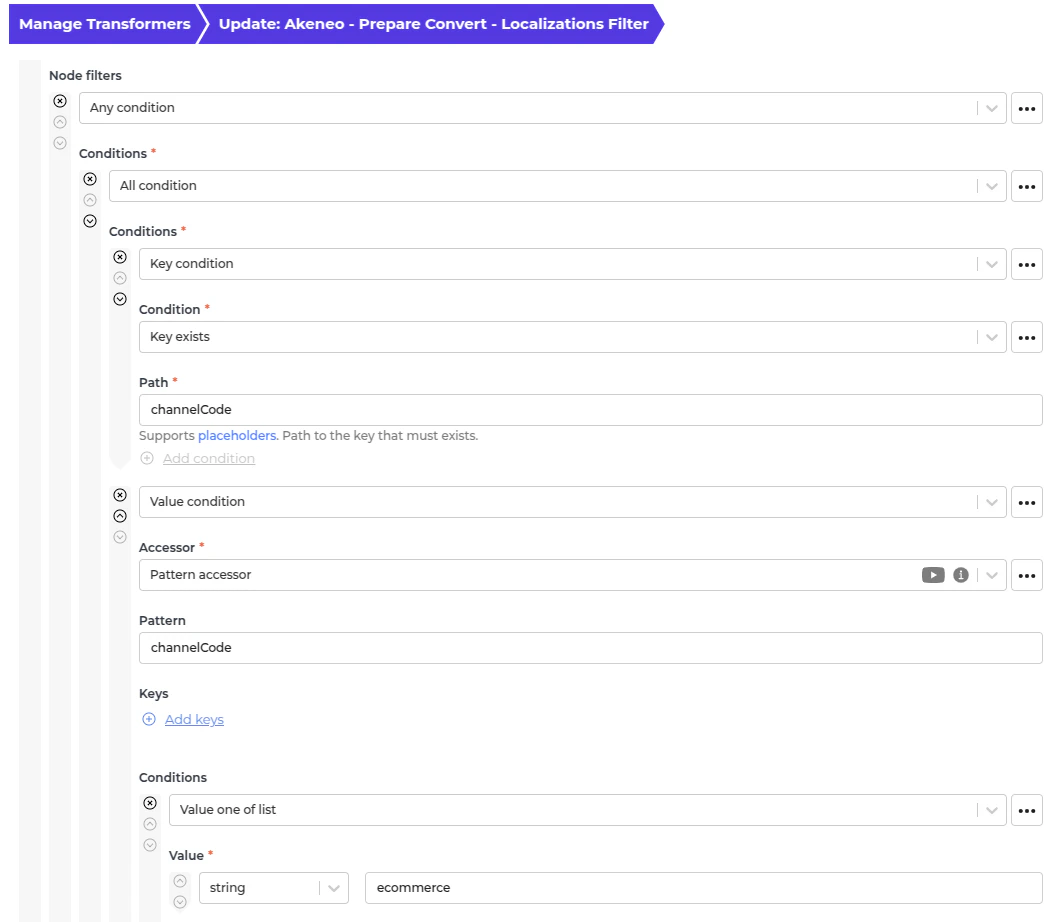
Customizing Akeneo - Fetch complete products- Navigate to “Transformer → Akeneo - Prepare Convert - Localizations filter”.
- Please add or remove the channel code in the first Node Filter.
- Save the transformer.
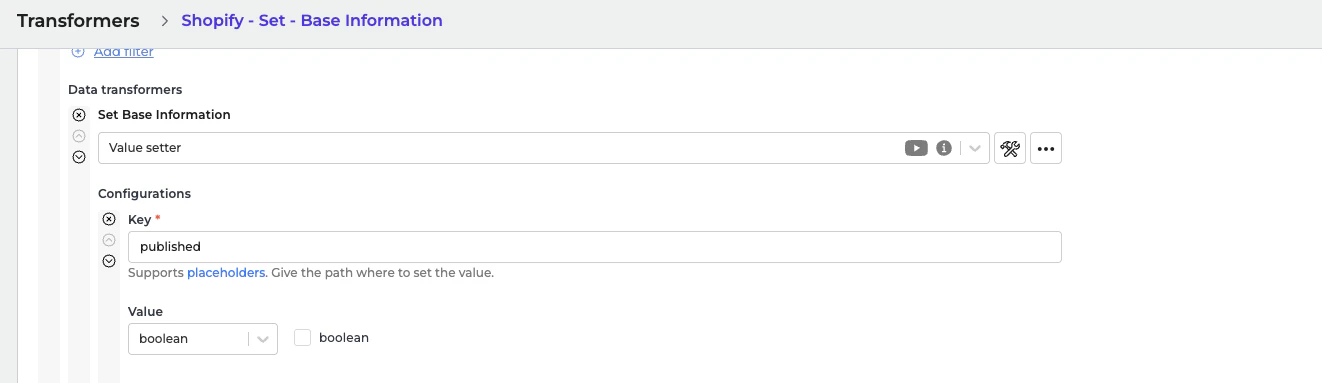
- Navigate to Transformer → Shopify - Set - Base Information.
- Go to the “Overview” tab to see what kind of information you can set.
Go to each data transformer and make necessary adjustments.
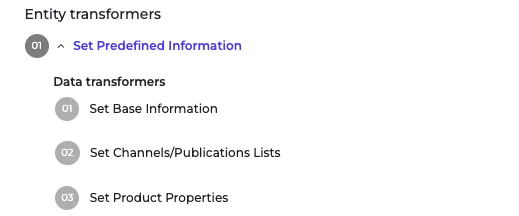
- Publish setting. The default value for “published” is false. This means the synchronized products will not be published in any stores. You’ll need to set it to true and make sure you put the Store names in the “Channels/Publications” values. If you set it to true, then this route will be able to fetch the Products and publish them to the defined channels/publications inside that transformer.

- Save the transformer.