> ## Documentation Index
> Fetch the complete documentation index at: https://docs.alumio.com/llms.txt
> Use this file to discover all available pages before exploring further.
# The Template Export
Follow this guide to export the template.
* Log in to your Alumio dashboard.
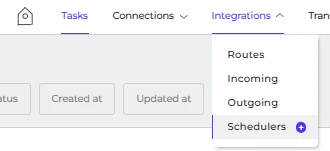
* Navigate to **Integrations > Schedulers**.
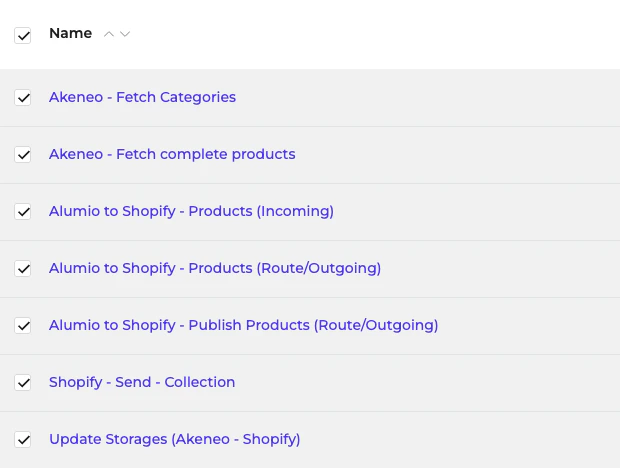
 * Pick up the Scheduler for export. Currently, 7 Schedulers can be exported.
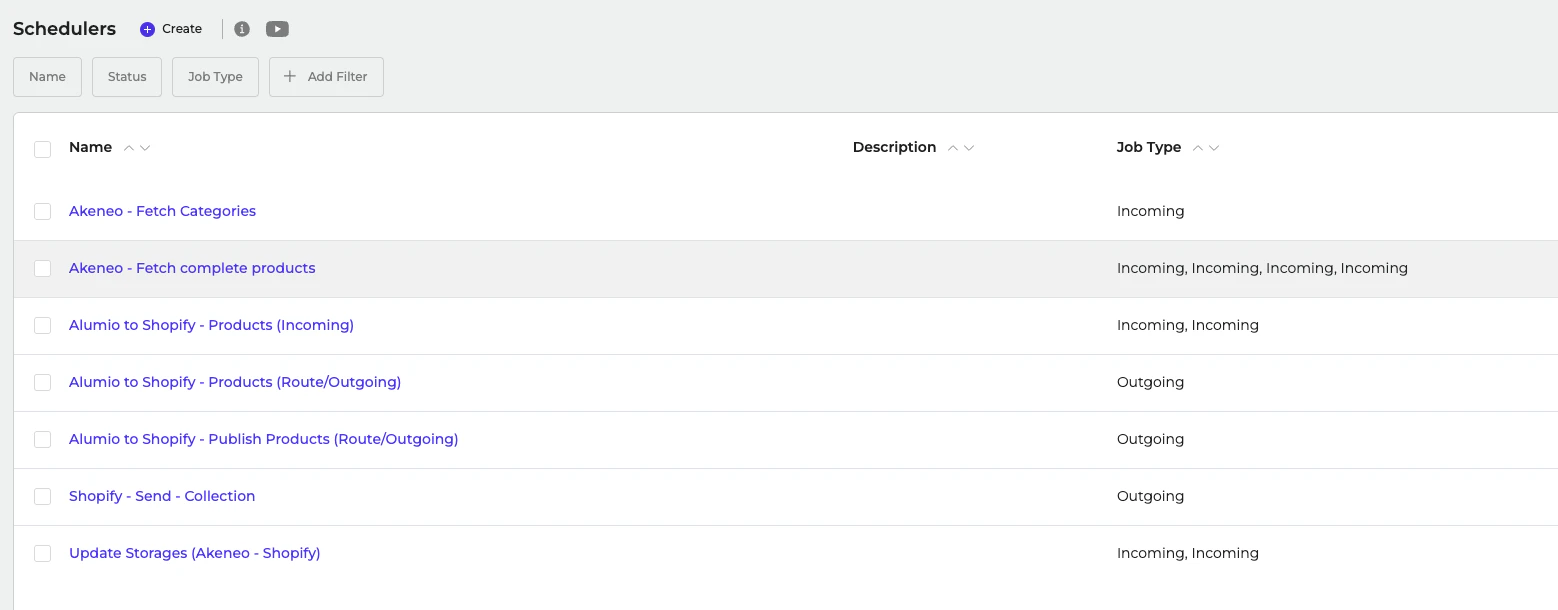 * You can export single or multiple Schedulers.
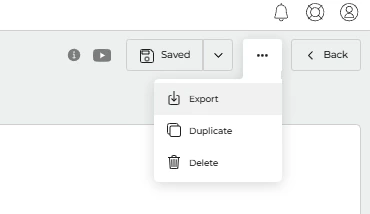
1. For a single Scheduler, navigate to one of the configurations in **Scheduler > … (Three dots on the top right) > Export.**
* You can export single or multiple Schedulers.
1. For a single Scheduler, navigate to one of the configurations in **Scheduler > … (Three dots on the top right) > Export.**
 2. To export multiple Schedulers, mark the checkbox **Scheduler > Export (top right).**
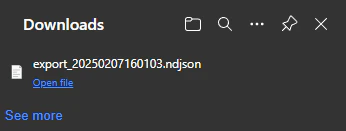
 An .ndjson file will be downloaded.
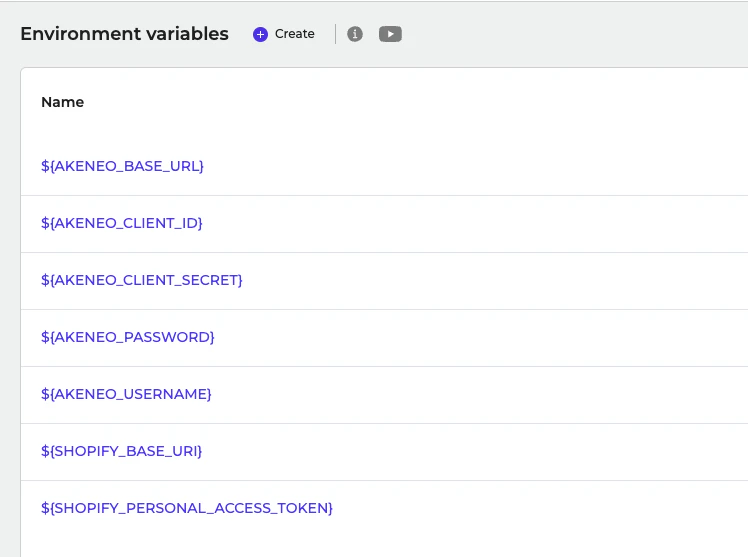
 Note: The values under System > Environment Variable are not included when exporting and must be entered manually. These variables are required because they are used in the HTTP (API) Client.
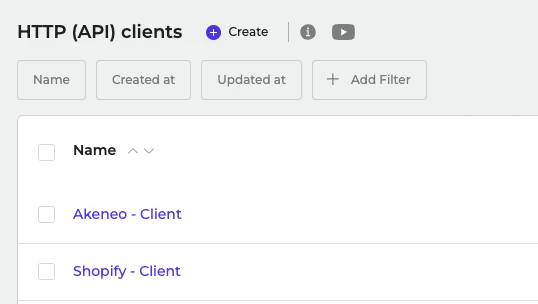
* You can find the Environment Variable used in *Connections > HTTP (API) Client.*
* Here is the list of HTTP (API) Clients used.
Note: The values under System > Environment Variable are not included when exporting and must be entered manually. These variables are required because they are used in the HTTP (API) Client.
* You can find the Environment Variable used in *Connections > HTTP (API) Client.*
* Here is the list of HTTP (API) Clients used.
 * Here is the list of Environment Variables used. You can create it on **System > Environment Variables.**